
Biography of a Build CH.13/mARCH 26, 2022
What a way to start a new year!
January and February saw us get back into the swing of site life after eating too much christmas cake and catching COVID-19!
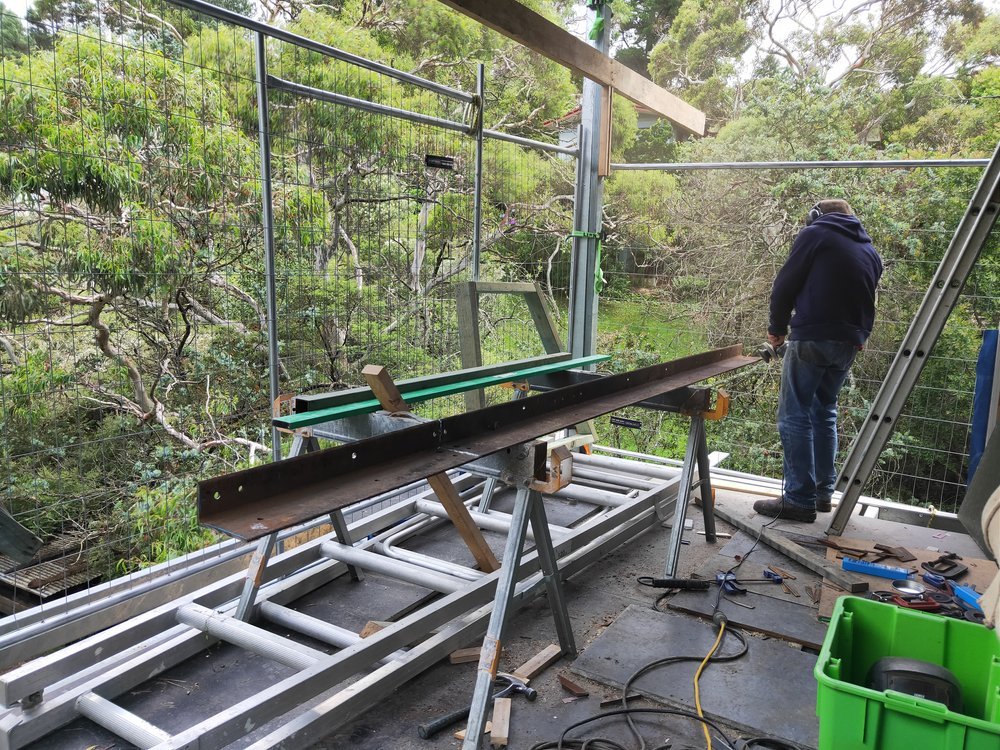
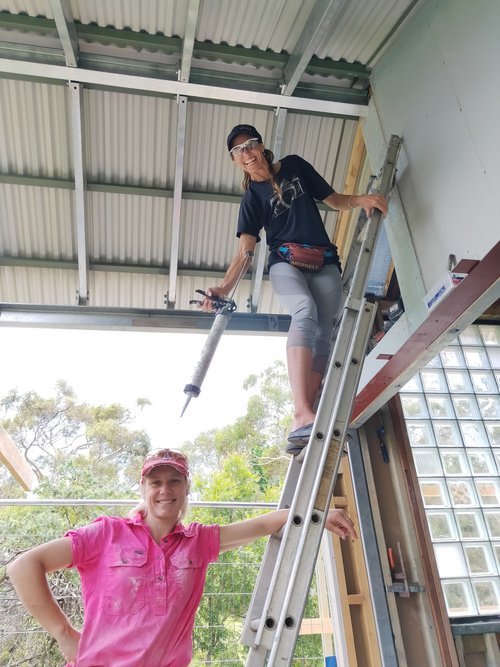
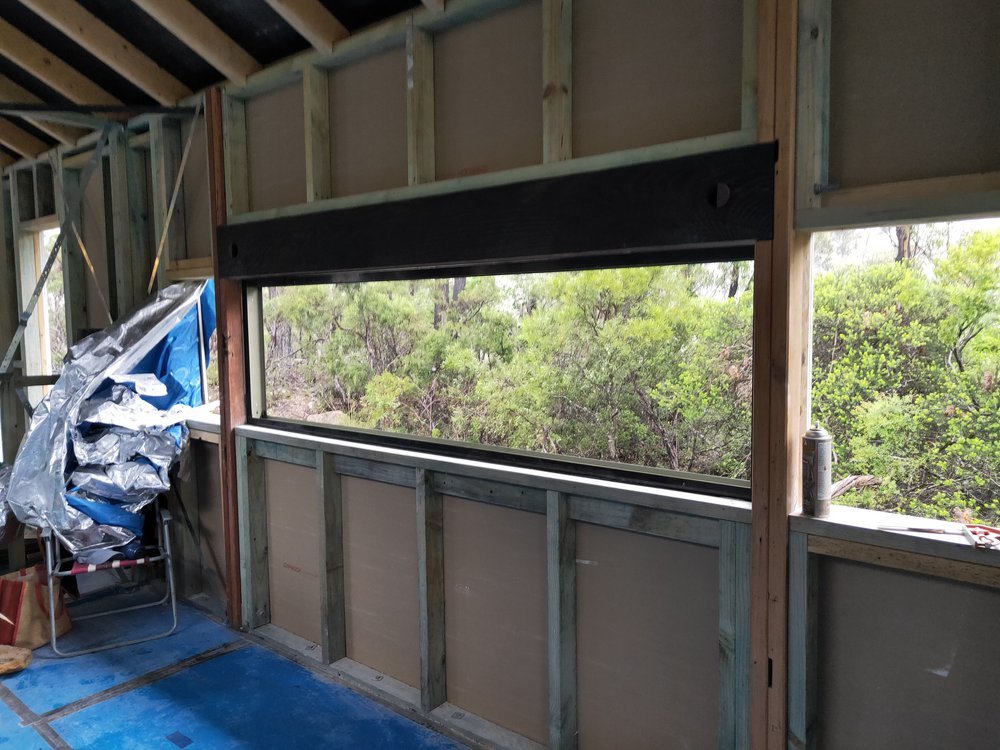
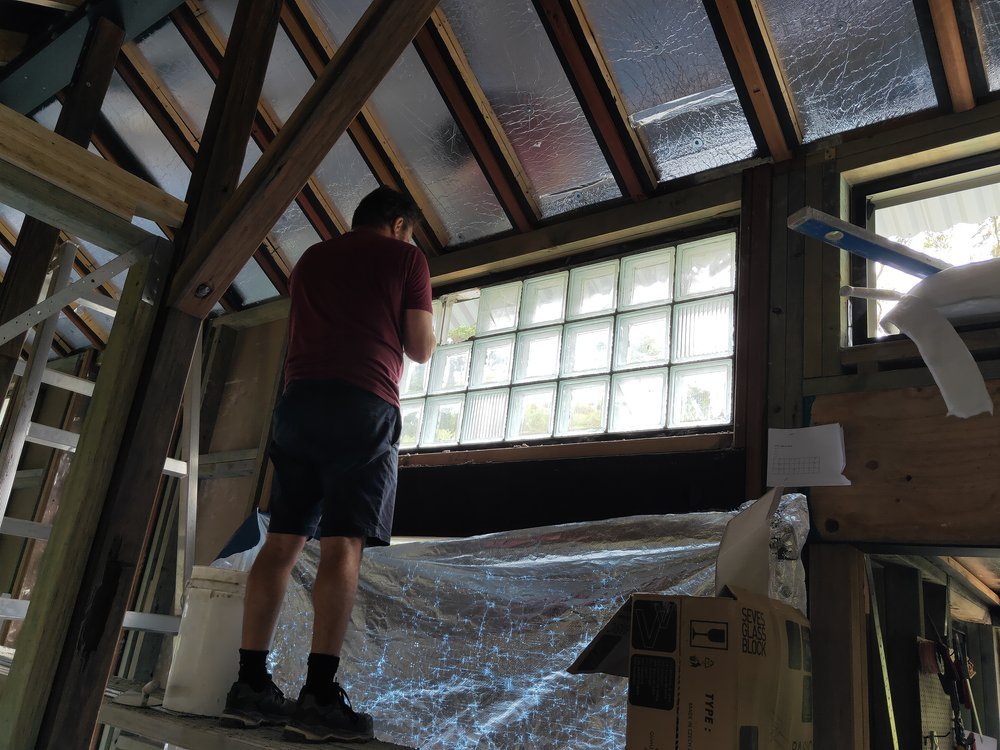
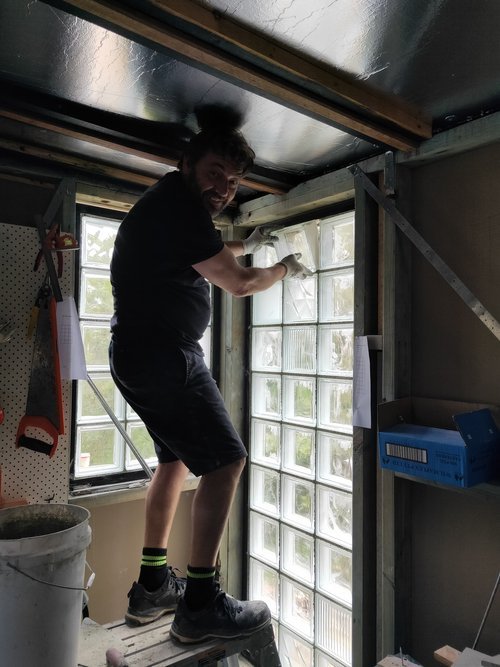
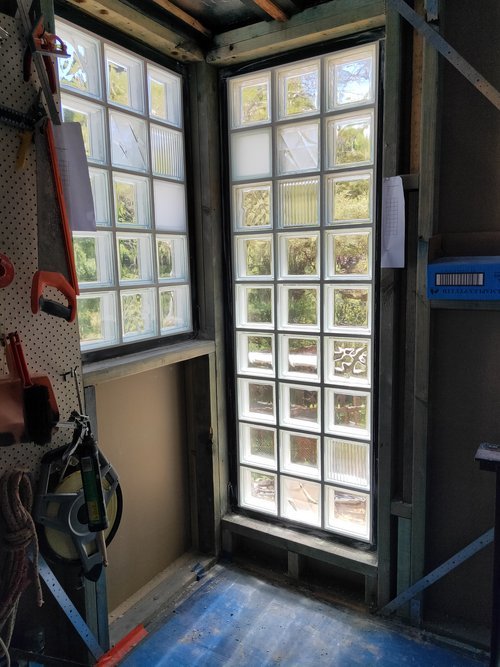
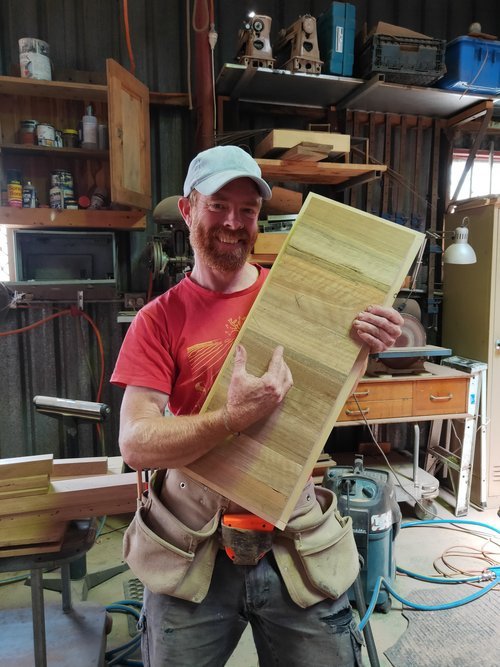
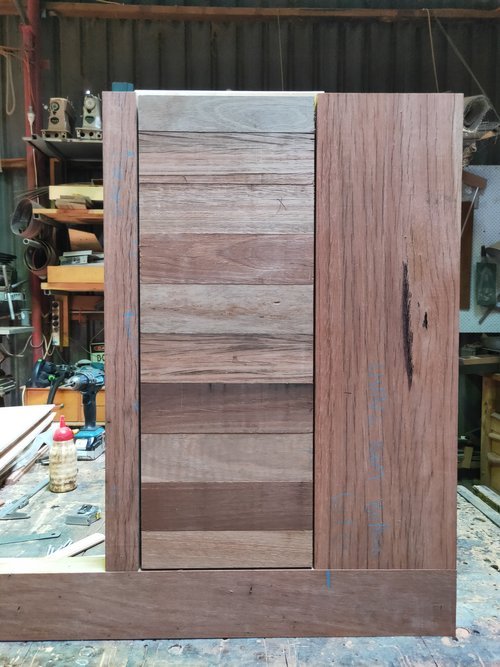
Owen continued his door detailing pursuit and working through AS1428.1 and accessibility standards which mandate very flush everything, including the hardware and tolerance trials and tribulations that come with that. Micheal and Bobbie kept plugging away at things on site such as finishing off the 2 x layers of Fyrcheck for the wall fire system, welding and installing a serious door head and best of all, we worked with The Glass Brick Company to install a custom pattern with 5 different blocks in each opening, which look great! (we were skeptical it might look overwhelming but it actually works well and the light patterns when the sun hit them are beautiful and everchanging).
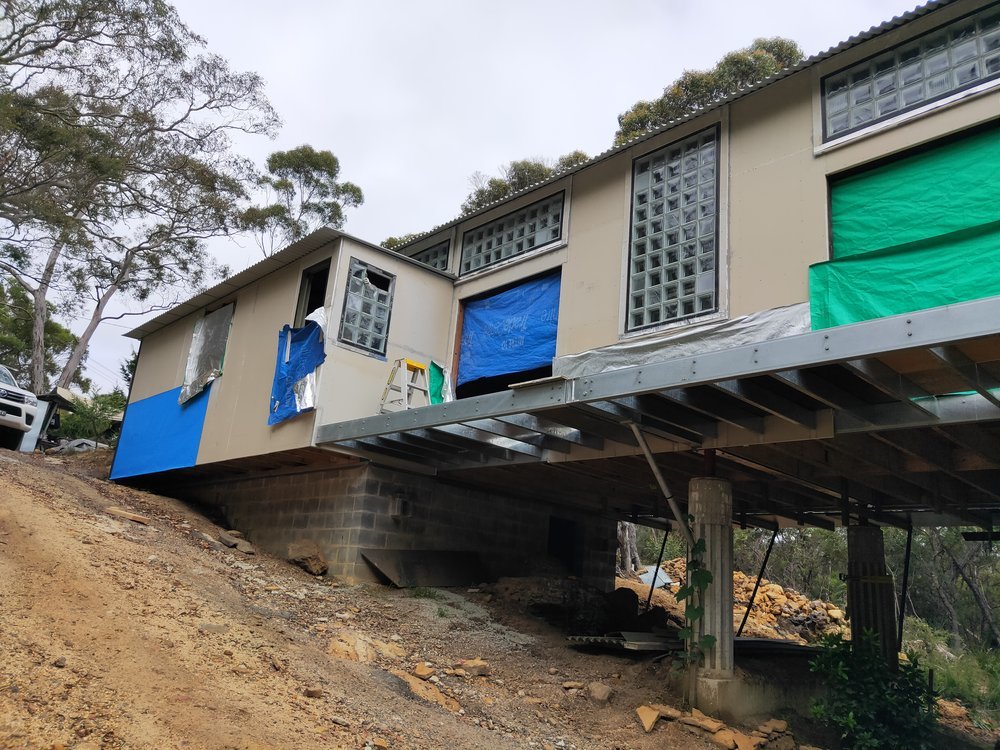
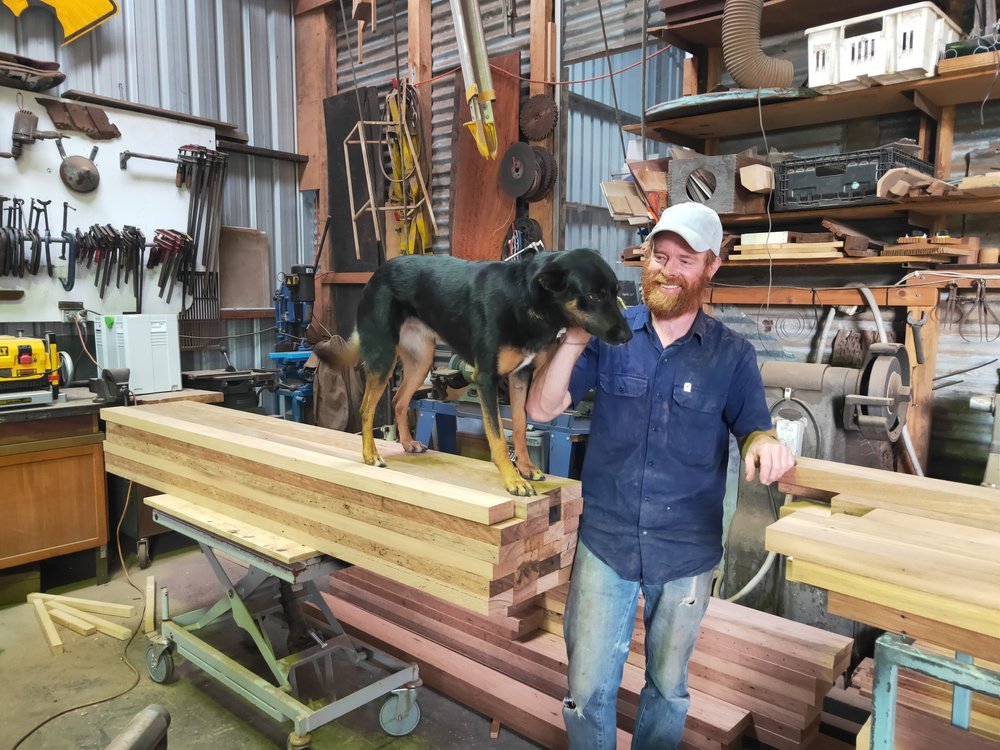
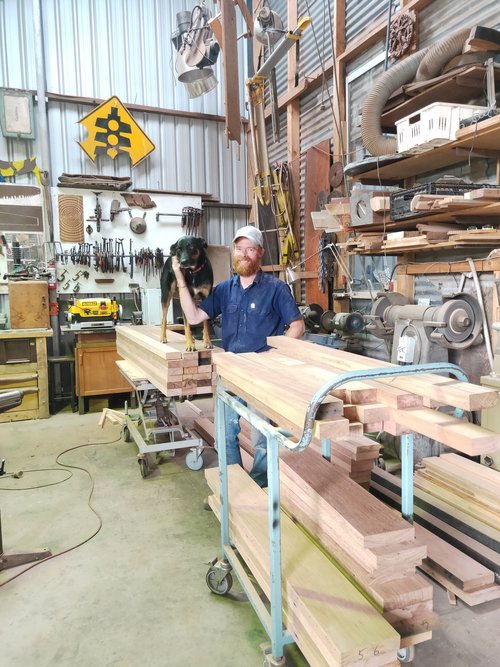
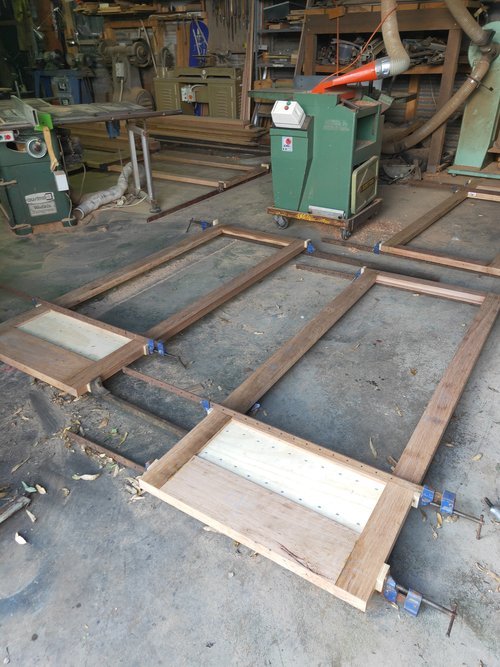
The start of February arrived and we retreated to Micheal’s brilliant workshop to make doors and windows, which would end up being an 8 week process with a lot of learning. Bobbie was on site leveling and flashing openings, glass blocks and door sills ready for their site arrival and Wayne (owen’s dad) began the sanding and oiling of all of the exposed timber in the house (for the second time) due to the damage they received whilst exposed in the rain while we were trying to get the roof up.
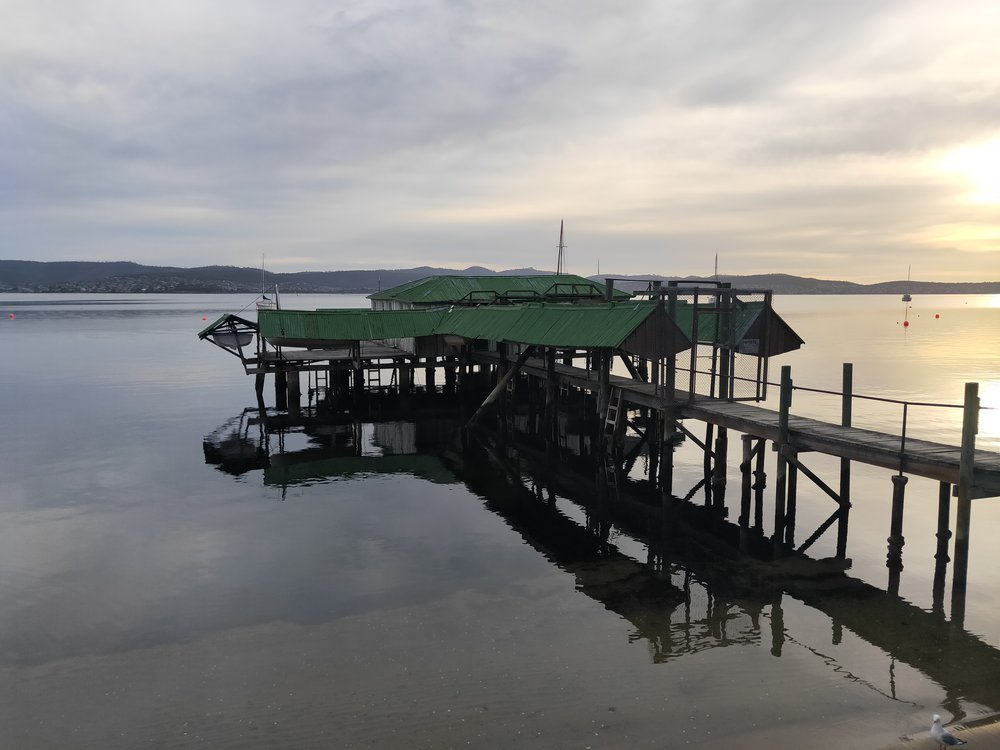
We escaped to Tasmania for a week holiday to walk the incredible landscape of The Walls of Jerusalem and see some lovely friends. We snuck in seeing some great work by Rick Leplastrier and the Hobart boat shed he so admires… we now know why!
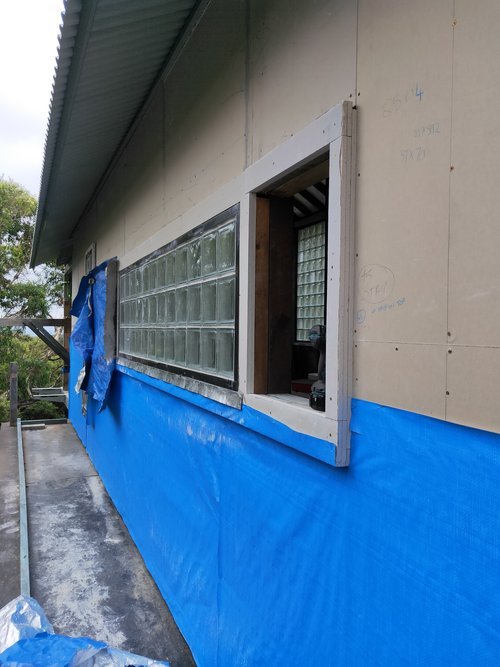
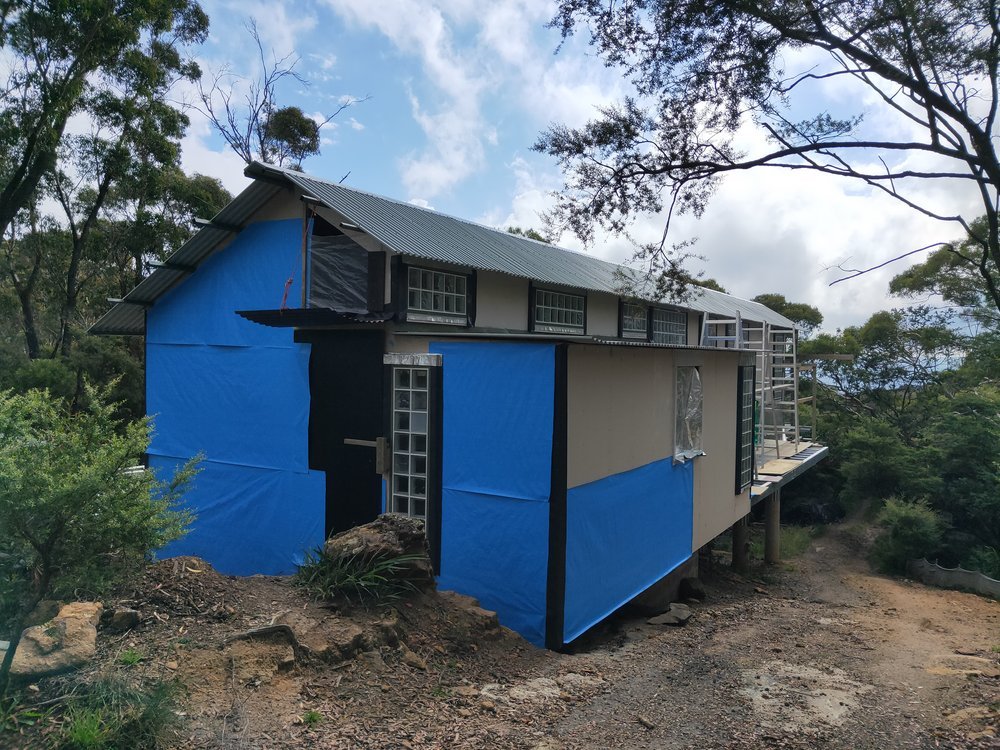
Flame Zone Glass Blocks
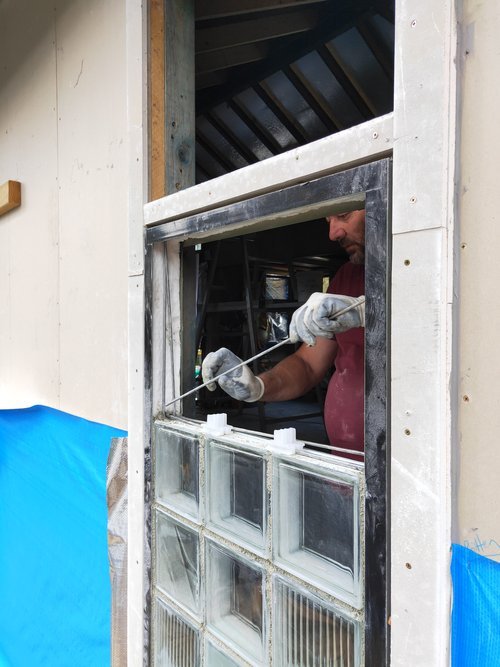
Apparently "very 1984". They are our option to bring light in due to restricted budget and high BAL-FZ bushfire rating. They have a cheap per $/sqm rate compared to windows and doors requiring shutters or expensive (and beautiful) BAL FZ rated windows. Unlike usual glass blocks, these fire rated blocks are quite a process to install -
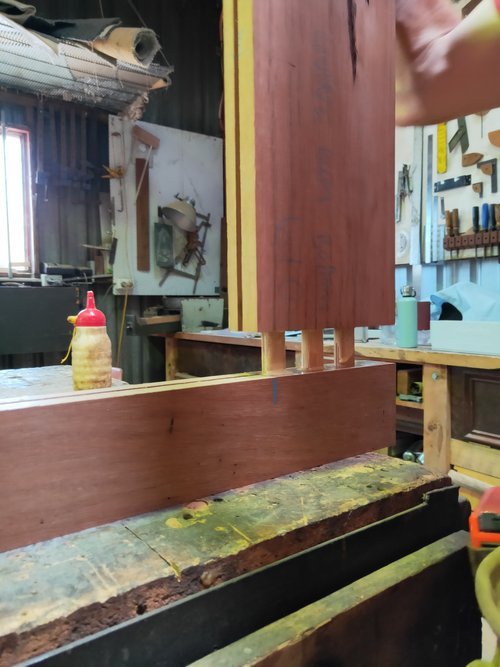
1. Install frames level and plumb in opening
2. Line frame with fire rated expansion foam
3. Pack bottom frame with cement grout and lay first row of blocks level
4. Add plastic spacers and drill horizontal metal rods into wall frame approx min. 50mm and install vertical metal rods
5. Cover with grout and continue to lay all blocks
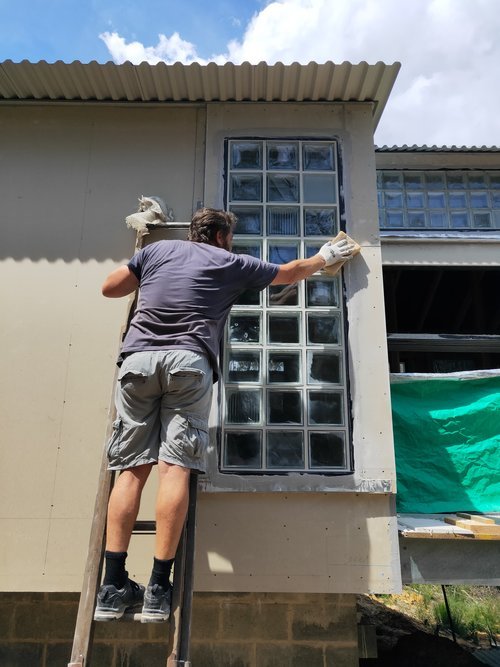
6. Let dry and fill exterior surround with LOTS OF fire rated silicon
7. Cover interior and exterior joins with white sand grout, wipe on with SpongeBob and let dry
8. Once grout is dry wipe over all glass blocks

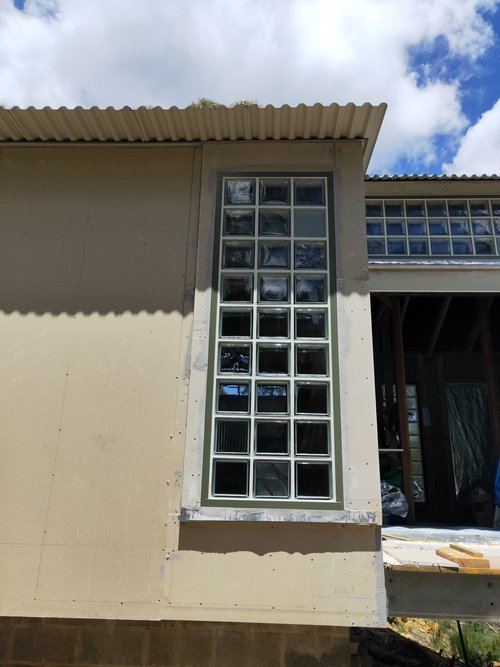

Onwards and structurally upwards!
Love,
Dusty & Thirsty
We are taking note from The Grand Section on the value of documenting the journey whilst you’re in it by hand rather than just the final result by photograph.
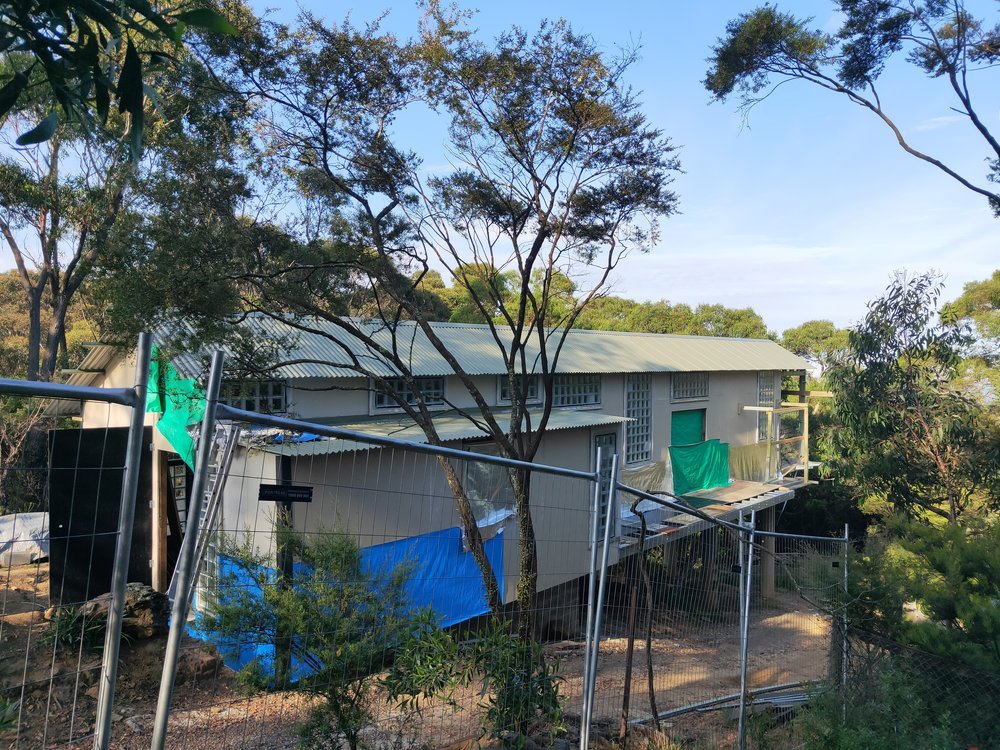
At the end of each month we sit down and visually document the build journey of ‘Can’t Break Your Hip House’ up in Blackheath and the people who have been a part of that chapter. A great way to reflect on going-ons, small wins and lots of learnings
You can find further photographs on The Grand Section social media - instagram and facebook!